
This guide will introduce How to install LAMP Stack ( Apache Server, MySQL, PHP ) on Deepin Linux.
LAMP stack is a popular and very common technology stack used by software developers to develop web applications. LAMP is an acronym, this technology stack consists of four open-source software components, Linux Operating System (in this tutorial we use Deeping Linux), Apache HTTP Server, MySQL Relational Database Management System, and PHP programming language.
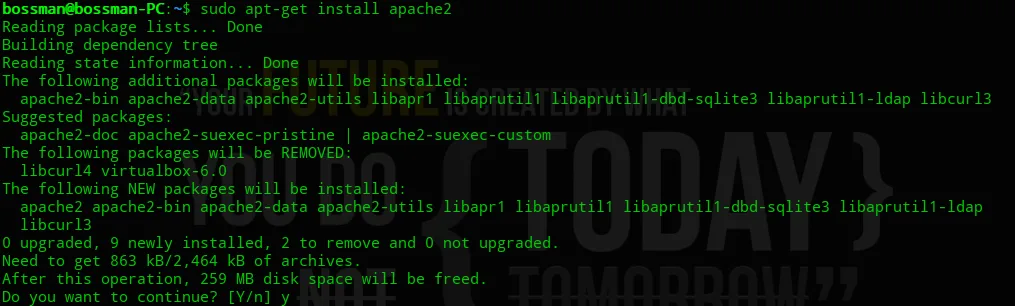
Note: As these commands are required to execute with root privileges, so it will ask for a user password to continue operations. After you enter the password, The APT will tell you which packages it will install and how much disk space they’ll take up. Press Y and hit ENTER to continue, and the installation will proceed.
Open the Deepin terminal (press **ctrl+alt+t **to open the terminal) and execute the following commands to install LAMP Stack.
Install LAMP Stack on Deepin
1. Update all packages
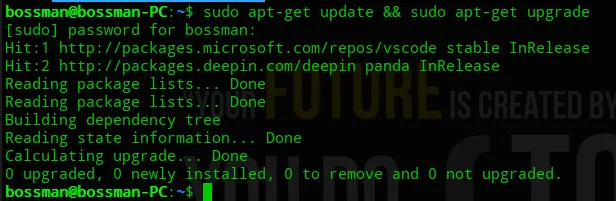
Updating all the packages is a good practice before installing any package. Type the following command and execute to make sure all repositories are up-to-date.
sudo apt-get update && sudo apt-get upgrade
2. Install Apache HTTP Server
Type the following command in your terminal to install the Apache server.
sudo apt-get install apache2
3. Restart the Apache server
sudo service apache2 restart

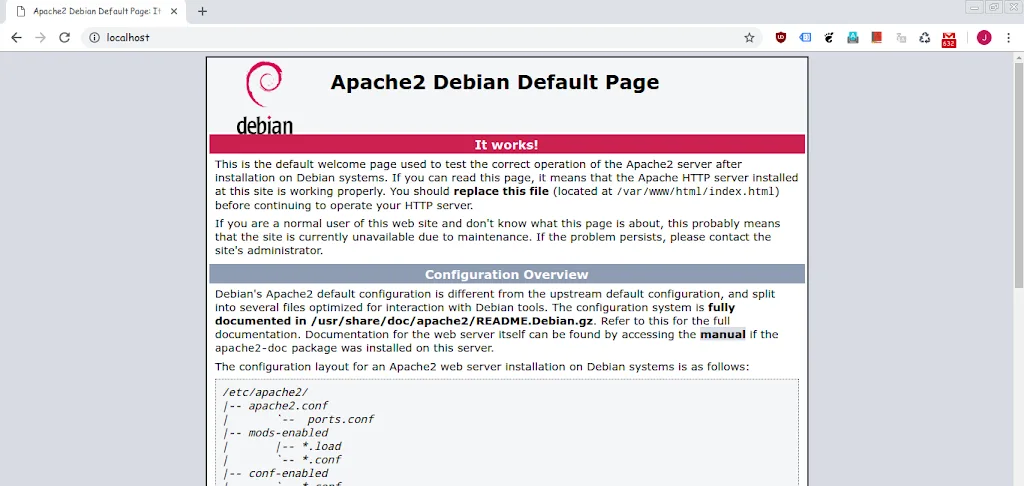
Visit http://localhost or http://127.0.0.1 in your browser to check whether the Apache HTTP server is working fine.
4. Install MySQL Server (if not installed)
Install MySQL Server with sudo apt-get install mysql-server if it is not already installed on your computer.
5. Install PHP modules
Install PHP 7.2 and commonly used PHP modules. (You have to install some additional packages and PHP modules for PHP to work with your applications.)
sudo apt-get install php7.2 php7.2-cli php7.2-common php7.2-opcache php7.2-curl php7.2-mbstring php7.2-mysql php7.2-zip php7.2-xml
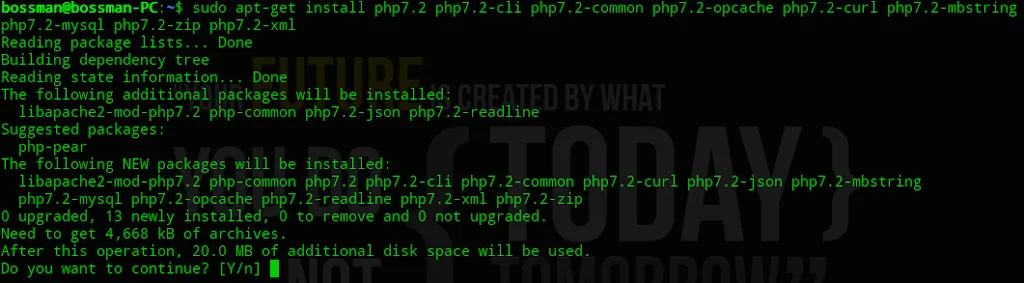
Check the PHP version you have installed.
php -v

That's it. You have installed the LAMP stack successfully.
6. Verify PHP Is Talking to Apache
Installing the modules isn't enough on its own. Create a test file to confirm Apache is actually executing PHP rather than just serving it as plain text:
echo "<?php phpinfo(); ?>" | sudo tee /var/www/html/info.php
Visit http://localhost/info.php in your browser. If you see a full PHP configuration page instead of raw code, PHP is wired up correctly. Delete this file once you've checked it, since phpinfo() exposes server configuration details that shouldn't be public.
sudo rm /var/www/html/info.php
7. Secure Your MySQL Installation
A fresh MySQL install has weak defaults: no root password, test databases anyone can access, and remote root login enabled. Run the built-in hardening script before you build anything on top of it.
sudo mysql_secure_installation
You'll be prompted to set a root password, remove anonymous users, disable remote root login, and drop the test database. Answer yes to all of these unless you have a specific reason not to.
Troubleshooting
localhost shows a directory listing instead of your PHP file. Apache is likely missing index.php in its list of default index files. Edit /etc/apache2/mods-enabled/dir.conf and make sure index.php appears before index.html in the DirectoryIndex line, then restart Apache.
Changes to .php files don't show up in the browser. Check that mod_php (or php-fpm if you're using that instead) is enabled with sudo a2enmod php7.2 and restart Apache. If you're using a newer PHP version, swap in the matching module name.
mysql_secure_installation fails to connect. MySQL's service may not have started after installation. Run sudo service mysql start and try again.

Written by
DebuggerMe TeamThe DebuggerMe team builds developer tools, writes technical content, and helps teams ship better software.
Related Articles
All articles →
Run Two Claude Code Accounts at Once (Personal + Office)
Claude Code has no account switcher yet, but one environment variable lets you keep a personal and an office login active at the same time. Here's the full setup.

React Server Components in Depth: What They Are and When to Use Them
React Server Components fundamentally change how we think about rendering. This guide breaks down how they work, how they differ from Client Components, and the patterns that will make your Next.js apps faster.

Getting Started with Next.js 16: A Complete Guide
Everything you need to know to build fast, modern web applications with Next.js 16 App Router, Server Components, and TypeScript. From project setup to production deployment.